Table of Contents
Installing scheduled tasks
 Updated
by Ólafur Haukur Pétursson
Updated
by Ólafur Haukur Pétursson
For some features in VDV, it is necessary to install scheduled tasks to run a server-side process.
Tasks to configure
This article refers to the following components. Notice that the path and name of the XML import file for each component will be unique.
- Task Monitor
Location: /Vista Data Vision/db.web.browser/background_tasks/core/vdv_monitorTasks
Fileaname: VDV - MonitorTasks.xml - Data Export Task
Location: /Vista Data Vision/db.web.browser/background_tasks/core/DataExportTask
Filename: VDV - Data Export Task.xml - Data Source File Import
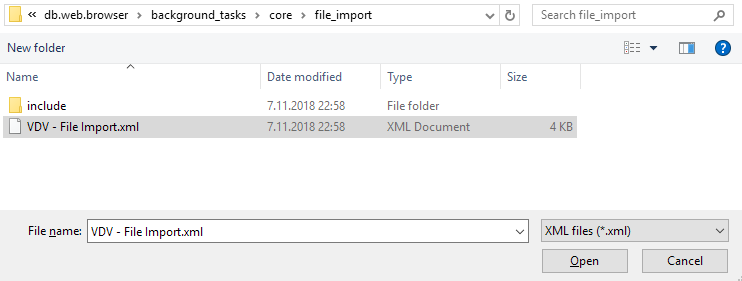
Location: /Vista Data Vision/db.web.browser/background_tasks/core/file_import
Filename: VDV - File Import.xml - Data Source Burst Data (if Installed)
Location: /Vista Data Vision/db.web.browser/background_tasks/core/datasource_burst_data
Filename: VDV - Burst File Import.xml - Data Source Burst Data Events Alarms (if Installed)
Location: /Vista Data Vision/db.web.browser/background_tasks/core/burst_data
Filename: VDV - Burst Event Alarms.xml - Data Source Loadsensing (if installed)
Location: /Vista Data Vision/db.web.browser/background_tasks/core/loadsensing
Filename: VDV - Loadsensing Import.xml - Data Source Total station (if installed)
Location: /Vista Data Vision/db.web.browser/background_tasks/core/total_station
Filename: VDV - Total Station.xml
The following help refers to the configuration of the Data Source File Import scheduled task. When installing other tasks, modify the path and XML file name according to the relevant task.
Scheduled task configuration
If VDV is not installed under the C: drive, the task Actions must be modified accordingly.
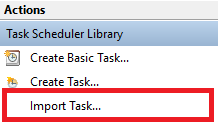
- Open Task Scheduler from the Windows Menu and select Action->Import Task
- Navigate and open each .xml file specified above.
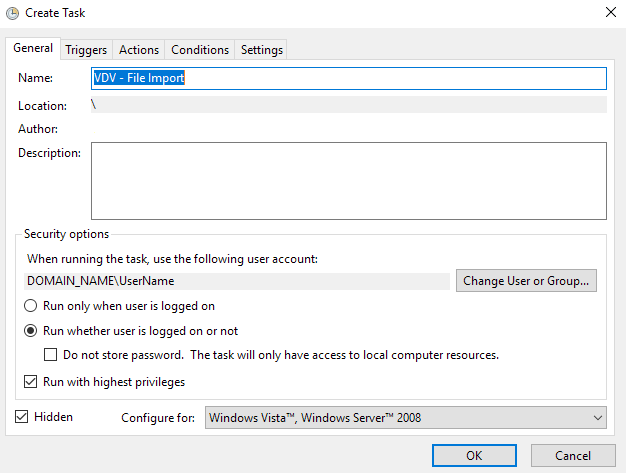
- To select the user to run the task, click the "Change User or Group..." button. Search for or enter the name of the appropriate user account, select it, and press OK.
- Click OK to finish the setup of the task(type in Username and Password if required)
Configure PHP for Data Source File Import
Edit php.ini
- Navigate to \Vista Data Vision\db.web.browser\php7
- Open php.ini in a text editor (we recommend Notepad++)
- Change line: Remove ; symbol at the start of the line ;extension=php_ftp.dll

- Change line: Change ;sys_temp_dir = "/tmp" to sys_temp_dir = "C:\Vista Data Vision\db.web.browser\php7\upload_temp" (If Vista Data Vision is installed under a different location then modify the path accordingly)

Duplicate php.ini
- Duplicate the php.ini file
- Rename the duplicated PHP file to php_threaded.ini

Edit php_threaded.ini
- Open php_threaded.ini
- Add extension=php_pthreads.dll after the extension=php_ftp.dll line
- Save file
